Zero Expedition Guide for beginners
Our Exection Zero Guide For Beginners will tell you what you need to know to start with this survival terror game of Enigmatic Machine.
- What is Execording zero?
- Understanding _ Zero-mechanical
- _Exey zero-game guide for beginners: initial game of the game
- Health
- Temperature
- Battery
- Printers and materials
- Anomalies
- The forest monster
- Starting
- Get to the merchant on the wall
- Preparing
- Exploring the forest
- To the workshop
- Rumbo to the church
- Through the doors
- Back to the camp
What is Execording zero?
Execording zero is a set of survival terror set in "the anomalous area of the northern forest". No much more explanation is provided beyond that, adding an air of mystery.
Do not expect a great epic adventure with the collection of food and water or the construction of a massive base. Expedition Zero only has a handful of mechanics from which to worry and, in general, is a pretty short game.
With that out of the way, we are going to move with the Expedition zero Guide for beginners!
Understanding _ Zero-mechanical
These are the key mechanics that you must understand in Exmittion Zero.
Health
How much life you have. If this falls to zero, you die.
Temperature
How warm you are. As you are out in the cold, your temperature drops. You can manufacture equipment to help curb the decrease.
You can restore the temperature by turning on a barrel of fire or a wood stove, but you will need a divided trunk or a wooden trunk to do so. (I advise you to keep your wooden trunks; You can each divide each in four trunks divided into a certain point of the map).
Battery
Your battery feeds your front flashlight and other parts of the additional equipment. If it falls to zero, this equipment will no longer work.
There are several charging stations spread throughout the game world. You can also find additional batteries that can recharge your kit on the fly.
Printers and materials
You will find a lot of garbage at Exmittion Zero. These elements can be divided into polymeric plastics, metals and electrocomponents in any printer. Then, printers can be used to manufacture a new piece of equipment.
Each printer can produce one or two useful items. You can always return to a printer later if you do not want to create a particular item immediately.
Anomalies
Anomalies are foreign and supernatural events in the game that include a corrupt church, a strange red deer and more. Your main objective at the beginning of the game is to discover the mystery of each of these anomalies and solve them.
The forest monster
The forest monster is the main adversary of the game. It can not be defeated at any time during the first hours. You will know that the forest monster is approaching if you start to see distortion lines appear on the screen.
If you see the monster of the forest moving near you, you will want to shoot him and start running. The only way to survive is to leave the immediate area.
_Exey zero-game guide for beginners: initial game of the game
Now that we have the established basic concepts, it is time to approach an Expedition Zero tutorial for the first parts of the game. Let's do it!
Starting
Our first step will be to put into operation the systems of the cabin. Go to the left, take a drum, feed the old generator. Turn it on. Then, pick up the other old Jerry Can that is close and go to the red door. Open it and listen to the radio.
Obtain the coordinates of your next location in the transmission receiver. It tools the backpack on the desk, then set your point of reappearance in bed. Then, go back to the sleigh. Save the additional Jerry Can in storage your sleigh, select Travel and go to Wall.
Get to the merchant on the wall
The wall is protected by reflectors that sweep the area in front of the merchant. If a light falls on you, you will kill you. Start keeping your game before moving on.
There is no magical trick to overcome this point. Sprint up to a piece of deck, gathered with Ctrl and wait for _ambing things to stop. Then, go up to the next piece of coverage, grind and wait for the lights to pass again. Repeat this process, advancing a cover piece at a time.
Once you get to the merchant, you will give you a shelter key for the locked room at home. The defenses are now off and you can walk safely back to the sleigh; Use the travel option to return to the shelter.
Preparing
Once you return to the shelter, you can stock up on computer. Let's start by looting everything that is not nailed.
Start by opening the door closed and equipping the bolt rifle on the table in front of you. Then, climb the stairs, turn right and equip the lever bar on the table.
Next, we will collect supplies. With the lever equipped, you can open all these objects and take several materials from the interior:
- Radio (second floor)
- Damaged control cabinet (first floor)
- Control cabinet (first floor)
- Kitchen (first floor)
- Mixer (first floor)
- Coffee grinder (first floor)
- Trash (first floor)
- Refrigerator (first floor)
- Jerry Can (s) (outside by the Old Generator and the one you put in your SLED inventory previously)
Now that it has a lot of trash, go to the printer. Put everything in the "Resources" panel on the old printer, but do not no put it on your bolt rifle, lever bar or backpack!
Once you have loaded everything, select "Break up resources" to convert all metal base resources, plastic and electrocomponent polymers. Then, select "Lighthouse Module" at the top to create a head-mounted flashlight.
Equip the headlight module and recover the printer's resources. Use the bed again to configure your point of reappearance and save your game. Then, go to the sleigh and travel to the forest. However, be careful: you will begin to lose temperature once you get there.
Exploring the forest
Once you reach the forest, your temperature will begin to decrease immediately. Now you are in a timer, so let's move!
The first thing is the first thing, go to the nearby surveillance tower and collects the ammunition of 7.62 x 54 mm there. Load your rifle with ammunition. Look inside the nearby truck and pick up what I can there too. Then go along the way, taking care to plunder any container you find. You will meet a small military camp in a short time.
Inspect a strange biomechanical object in the center and will acquire the Signal Locator, a device that tells you how far it is from the nearest anomaly. Avanza and you will see two stores. The carp on the right has a bed, a stove and several items. Loot the items and set your generation point on the bed.
Next, go to the store on the left. Loot objects here and recharge your battery if necessary. You will also find one piece of Split Wood - do it no dismantle it for resources. Divided wood (and wood) are used to burn in barrels of fire and wood stoves and keep it warm, and you will want to cling to everything you can.
The carp on the left also has a printer. It can be used to make a larger backpack called mega backpack, but probably do not have the necessary resources at this time; We will be back here later. For now, warm up using the stove in the tent on the right, then continue on the road on the left (the road below on the map).
To the workshop
As you progress along the way, you will find a couple of tanks traps and a tent. Enter and take a piece of wood, a piece of set wood and several booties. When it comes out, you will notice a green light on the road; Go to that address. Later on the road there is another cabin with a green light. This is where you will see your first enemy, a species of corrupt lumberjack. You will be needed from 1 to 4 shots of your bolt rifle to kill him.
The bright green tent has an own printer that allows you to make an exoeskeleton module. Do not elaborate this yet, but keep this position on the map so you can come back later if you wish. Tell me with the Fire Barrel if your temperature is below 50%. Then, return where he came and then continue to the west (to the left) on the road he was.
You will meet the workshop later on the road. This location has a printer that allows you to make the gas mask and the insulation of the suit, along with a good amount of booty. Loot everything you can in the area, make the insulation of the suit and equiple. You will also find a nearby battery: Take it with you so you can recharge your battery in the field if necessary. Then, recharge your battery with the battery charger near the printer, heat on the barrel with a piece of wood departed and continue along the same path.
Rumbo to the church
A few meters later you will see a path that is bifurcated to the right. Open the signal locator and tell you that you are 40 meters away. Go to the north and you will find the church. Prepare for terror!
There are ghosts on the first floor of the church and a printer at the back, but for now you do not check any of these things. Climb the stairs to your left and you will find a ghost that points to a fall painting. Interact with the paint to replace it on the wall. You will notice that some candles light up. There are three more paintings that have fallen on the first floor; Arrange those three and the pulpit will slide aside.
Lower the stairs and you will find a book on the shelf covered with red organic tentacles. Interact with him to pick up the anomaly. Climb the ladder and go to the back of the church. You can create a thermal harness module here; Do it and equip it. You will also find a second battery, take it with you. It breaks any other scrap component, then returns to the South Highway and continues to the west.
Through the doors
A little later on the way there is a tent with a bed. Establish your reappearance point here and your sleigh will appear next to the store. Recharge your battery with the sleigh and restore your temperature using the stove in the store. Keep the batteries and wooden trunks (but not the game) on the sled, then go through the doors illuminated to the west.
You will see some red containers on the right side of the road a few meters after the door. You can find another battery here and some diverse tackle in the different containers. Collect everything and then continues to the west. Climb your signal detector and you will see that it is approaching another anomaly; You should register at about 58 meters away when you are next to a fallen storage tank on the road.
Once you have passed the tanks, you will see a bright red deer on the road. Take off your rifle from bolt and shoot. The deer will run, so pursue it and dispat them repeatedly until you killed it. It will take a total of 3 shots to kill the deer.
If you try to advance more on the road, you will notice that the map is covered with white lines. This is a lethal gas and you are not yet equipped to go through it. For now, let's go around and return to the camp.
Back to the camp
Return to the military camp. On the way back, you may want to manufacture equipment that still does not have in your respective printers (such as gas mask). The key article you want to do here is the mega backpack to increase the space of your inventory.
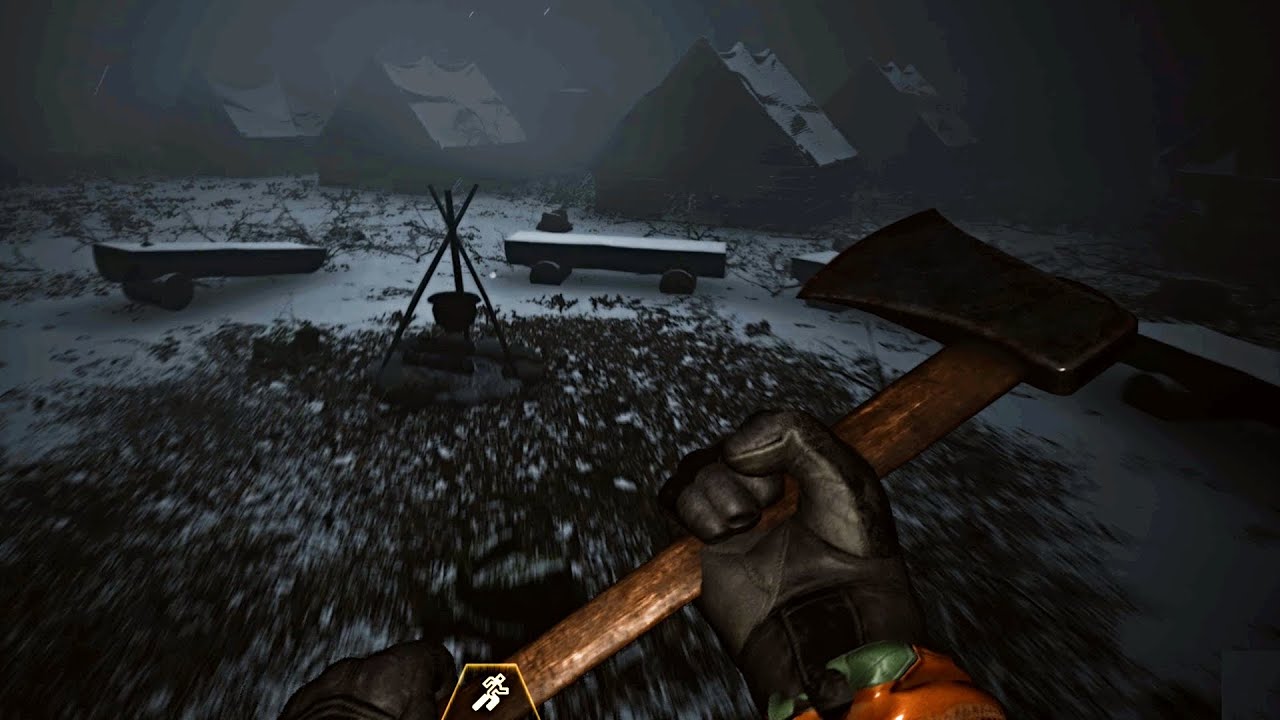
Once you're back, keep in bed and warm up. There is much more to explore: you may want to start going to the north towards the shelter, which is where you can find the ax and a division block to convert wooden trunks into split wood. You can also manufacture the gas mask and return through the gas to discover more anomalies.
It is enough to explore here and you should have the basic concepts. I do not want to ruin the fun spoiling the whole game. Take the knowledge you have learned here and see if you can unravel the mystery of the forest. Have fun!

Comments
Post a Comment